![]()
Breach
Creation Mode: Assign to Protection Line
Purpose and Effect: This action allows you to create breaches in dikes and mobile walls. Once a breach is applied, you can observe its impact during the simulation as water flows through the breach. The position and size of the breach can be adjusted using handles and action settings to meet your requirements.

Using the Breach Action
Breachable Objects
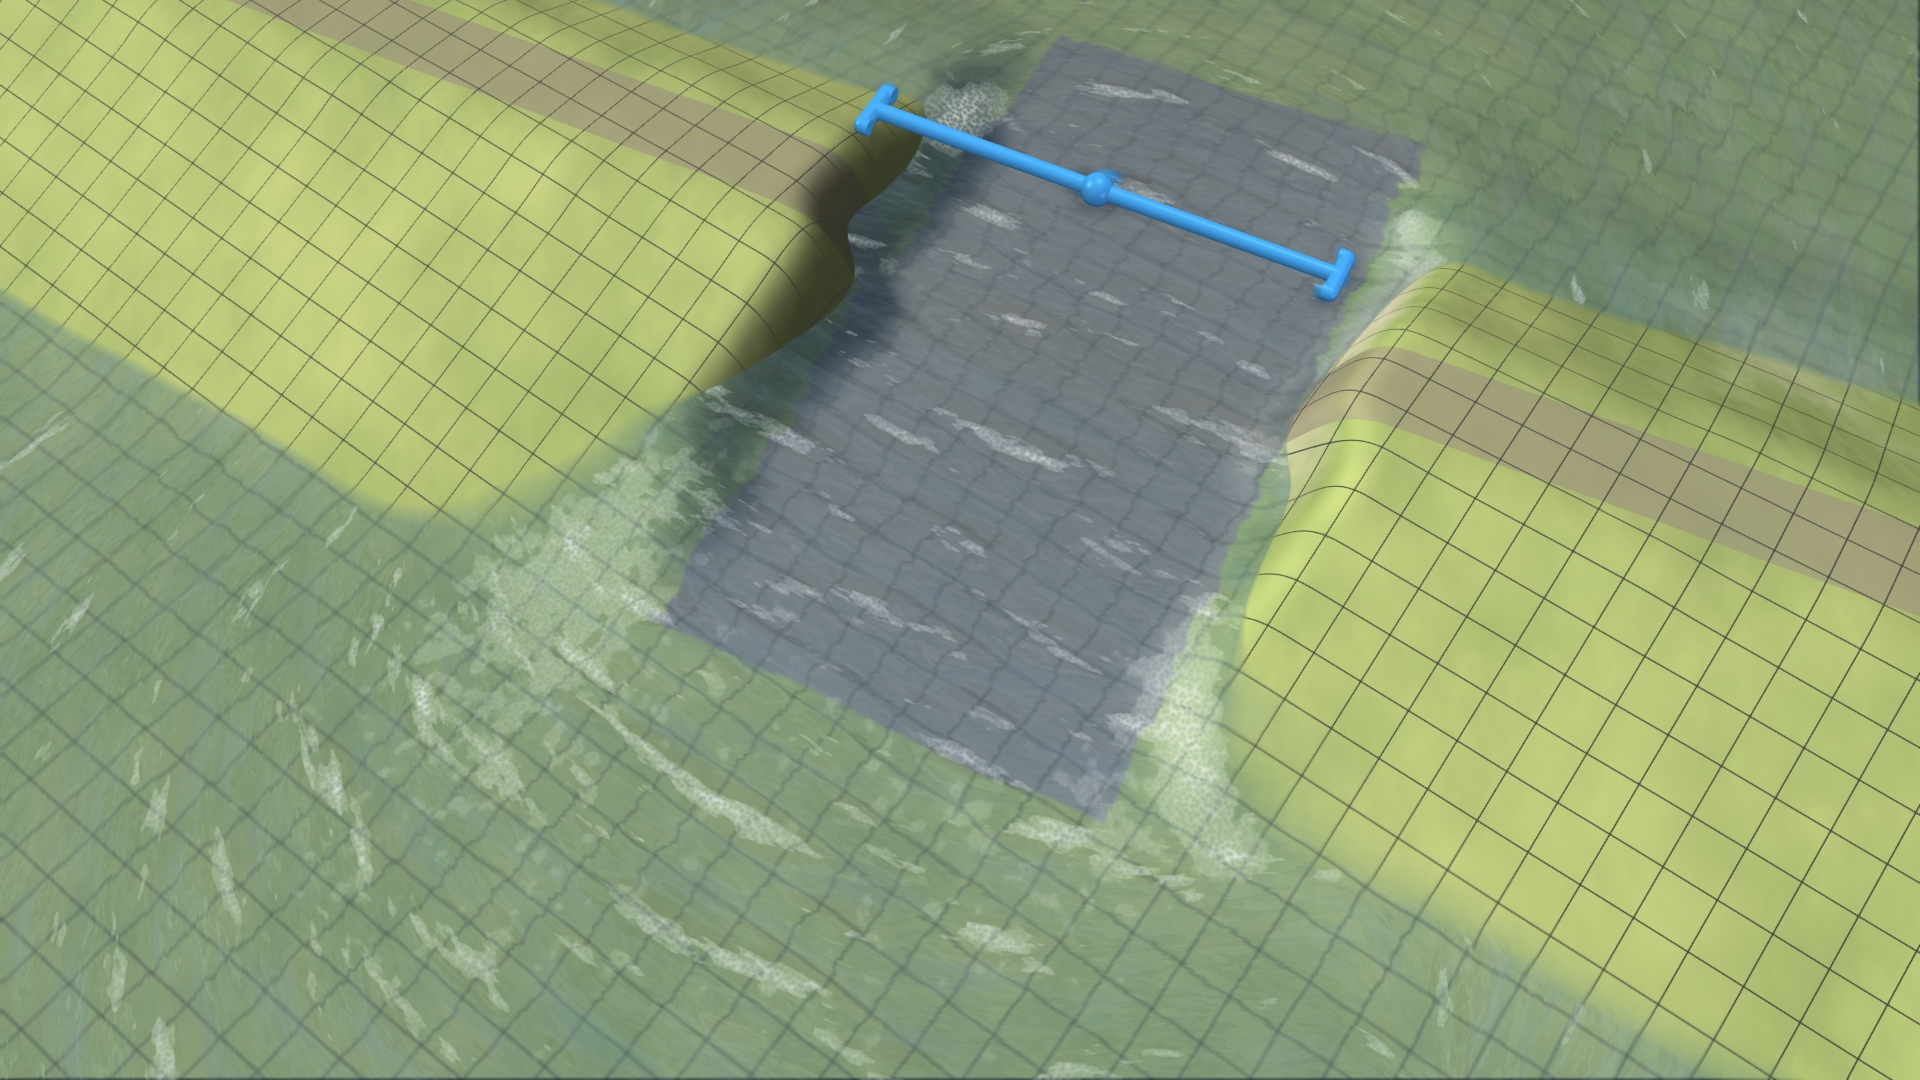
Breaches can be applied to dikes and mobile walls by selecting these objects with the Breach action. These breachable structures can originate from different sources:
Existing dikes/walls
|
 |
|---|---|
New dikes
|
 |
Fine-Tuning Breach Parameters
.png)
After assigning a breach to a structure, you can adjust its width and position along the line using its Visual Handles. Specific values for the breach width, dike base width, and height removed can be entered in the Action Settings Panel. The image on the right illustrates how these parameters are interpreted.
Scenario Setup
To set up a scenario for modeling a breach caused by a river flood, follow these steps:
| 1. Create new breach scenario: Branch from the scenario that simulates the river flood. Choose a start time at which the flood reaches the structure you want to breach. | 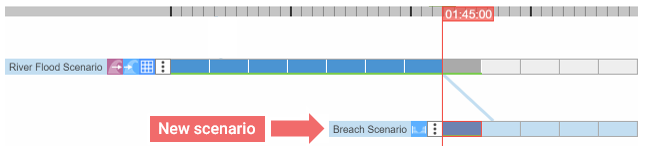 |
|---|---|
| 2. Adjust time step size: Reduce the time step size in the new scenario to analyze the effects of the breach in more detail. | 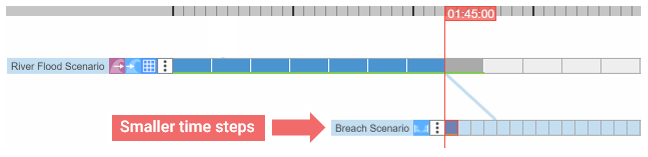 |
Modeling the Evolution of a Breach
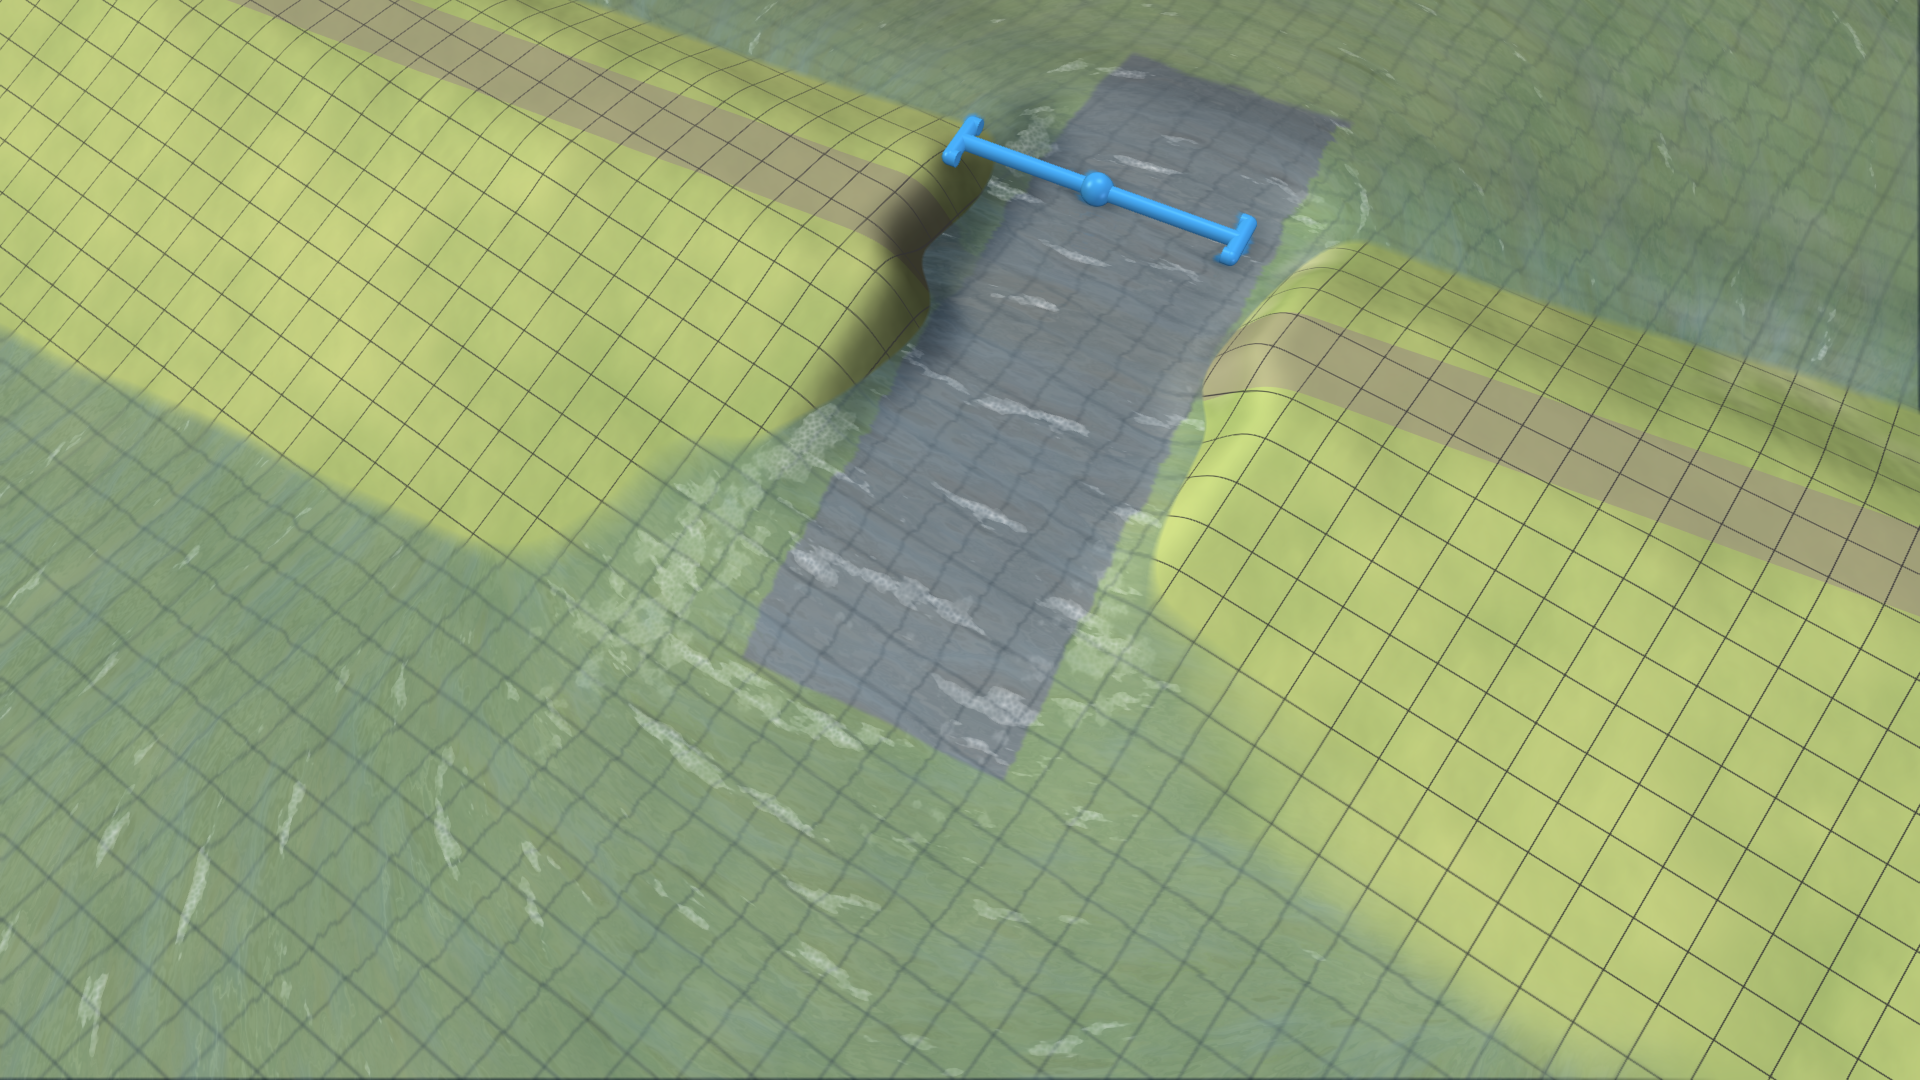
A dike breach typically begins as a small opening and gradually grows as more soil is eroded. To simulate this behavior, define breach parameters for specific time steps:

-
Add settings to at least two time steps: One at the beginning of the breach scenario and another at the time step where the breach should stop changing.
- Navigate to the time step where you want to change parameters.
- Set values for Width and/or Dike Height Removed and click the dedicated button, as shown in the image on the right.
-
Fine-tune parameters: Settings added to time steps appear as orange dots in the corresponding scenario. Click on a dot to adjust the values.
Hint: If you want to add a setting at a later point in time, you can cancel the run to avoid simulating until then.
After adding breach settings, you can play the scenario and see a smooth transition between the predefined states of the breach. Below is an example breach with settings applied at two time steps.
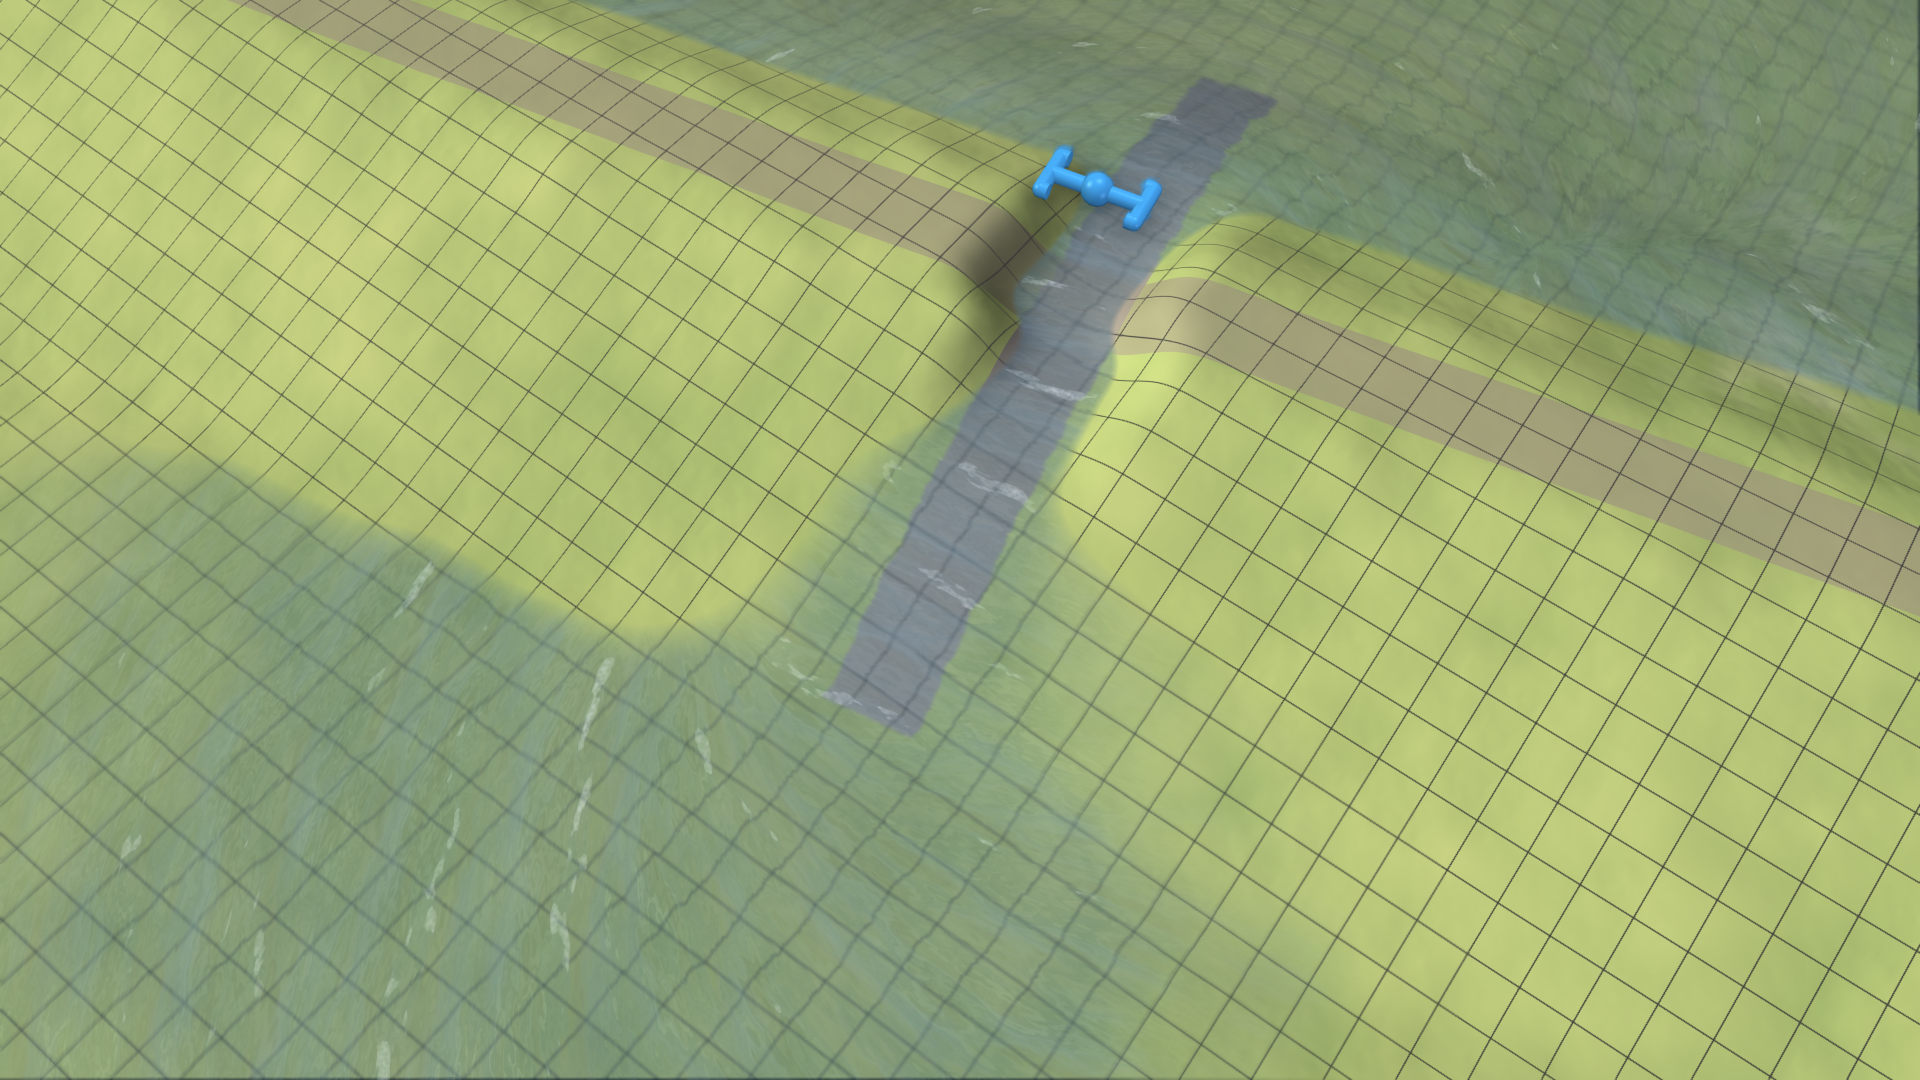
- Width: 2 m
- Dike Height Removed: 40 %
- Width: 6 m
- Dike Height Removed: 70 %
- Width: 10 m
- Dike Height Removed: 100 %